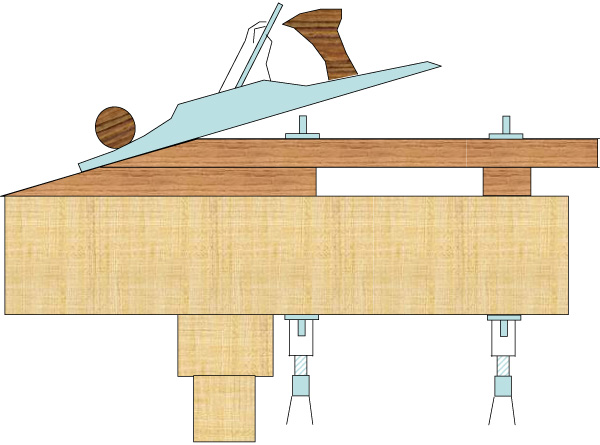
[QUOTE=crazymanmichael] the factors mentioned by the previous posters are all amongst the reasons i switched to doing my scarf joints, the few that i do anyway, on the table saw. clamp blank to jig, cut blank, glue blank. no frustration. whilst i eventually got so that i could get a good, tight scarf joint doing it with the plane, it was never a quick or enjoyable process for me, rather always slow and tedious, check, mark high spots, square up, check, mark, ......, seemingly going on foreever till i was satisfied. granted, i did get faster at it, but never fast, and there was satisfaction in achieving a good joint, but i'll take the table saw route any time. and when i built the jig, it took me far less time to build than it did to do a joint with the plane, and it hangs on the wall, always ready to do its thing again whenever i need, with no relearning curve to negotiate.
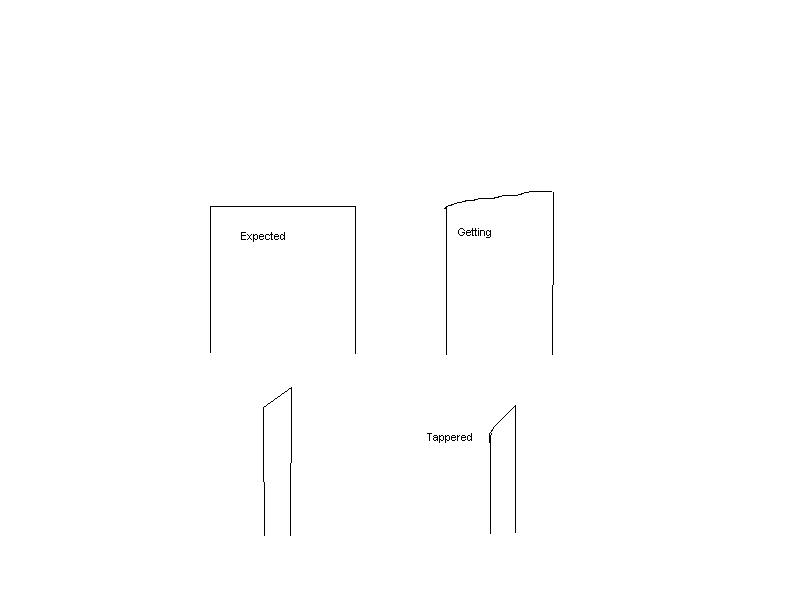
p.s. forgot to mention a few other suggestions; first you must start with flat, squared up stock else you will always be chasing your tail, second ensure that your initial cut is as square as you can make it, if possible by using a jig of some sort to keep the face of the stock in a vertical plane, mark your square target line on the stock, and the high points on the joint faces to give yourself initial target areas to correct first. do this after every couple of cuts with the plane. these must be marked by checking both squareness across the stock but also straight along the long axis of the joint surfaces. backlight helps immeasurably. use chalk or coloured pencil or gelpen for easy visibility. and as someone else mentioned, use only a very sharpe iron set for very fine cuts. a dull iron will always lead to the ragged start line you depict in your drawing, as well as uneven cuts in the stroke as you strugle to get the cut started and finished, as well as variation in the cut in softer or harder wood.
ain't learning all this a b....-- oops can't say that can i!!! [/QUOTE]
Thanks for your responce. If I read you right are you saying after you make the cut on the table saw, you just glue it w/ out any additinal plane work?
|